Spot metering isn't new to me. Back in my early film days I used it fairly regularly — there was no histogram to lean on, no chimping the rear screen, just a meter reading and trust in your own judgement. It was a proper skill back then, one you had to actually understand rather than just switch on. Somewhere along the way, through years of digital cameras with clever evaluative metering doing a perfectly good job most of the time, I drifted away from it. It became a tool I knew rather than a tool I used.
The odd exception cropped up here and there — photographing stained glass window inside a dark church, that sort of thing — but beyond the occasional shoot, it had no real place in my workflow anymore.
Then recently a trip to Andalusia came up. Ten days of strong Spanish sun, whitewashed buildings everywhere, and the kind of light that makes exposure genuinely difficult to get right. White walls under harsh sun are brutal for any camera — you either blow the highlights to nothing or you drag everything else down trying to save them. I needed something better than my usual approach, and that's what brought me back to a skill I hadn't properly leaned on in years.
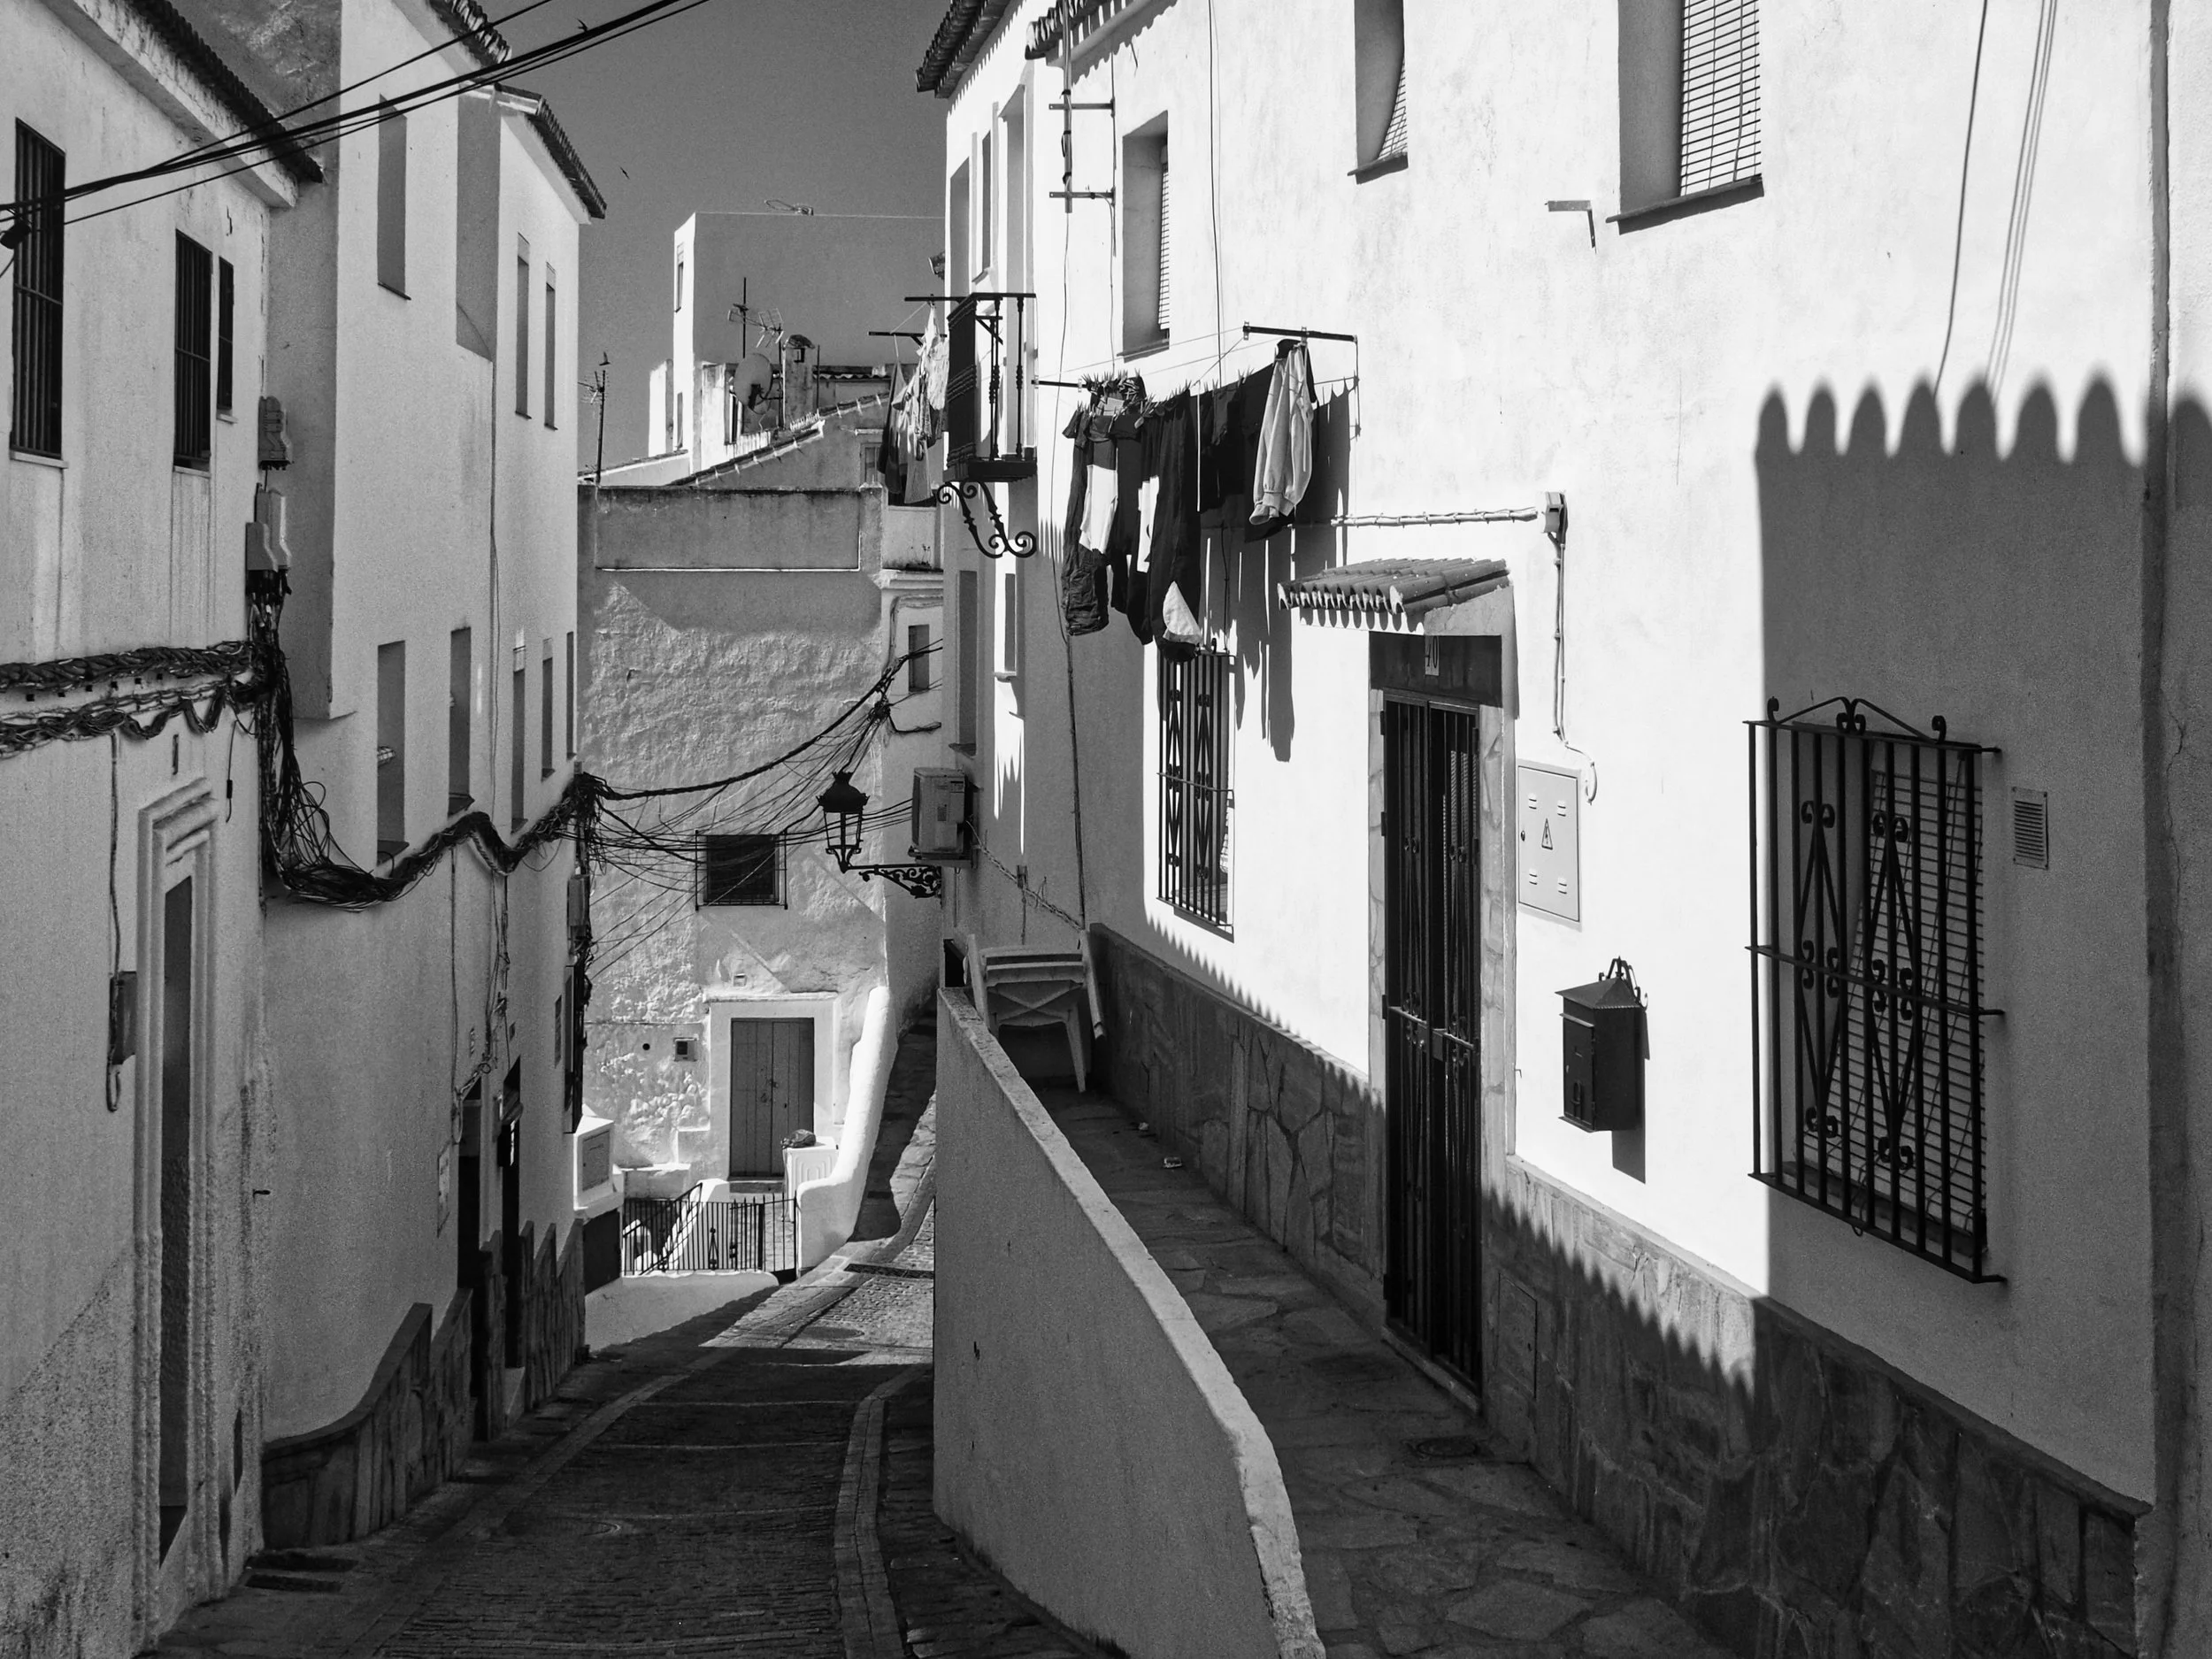
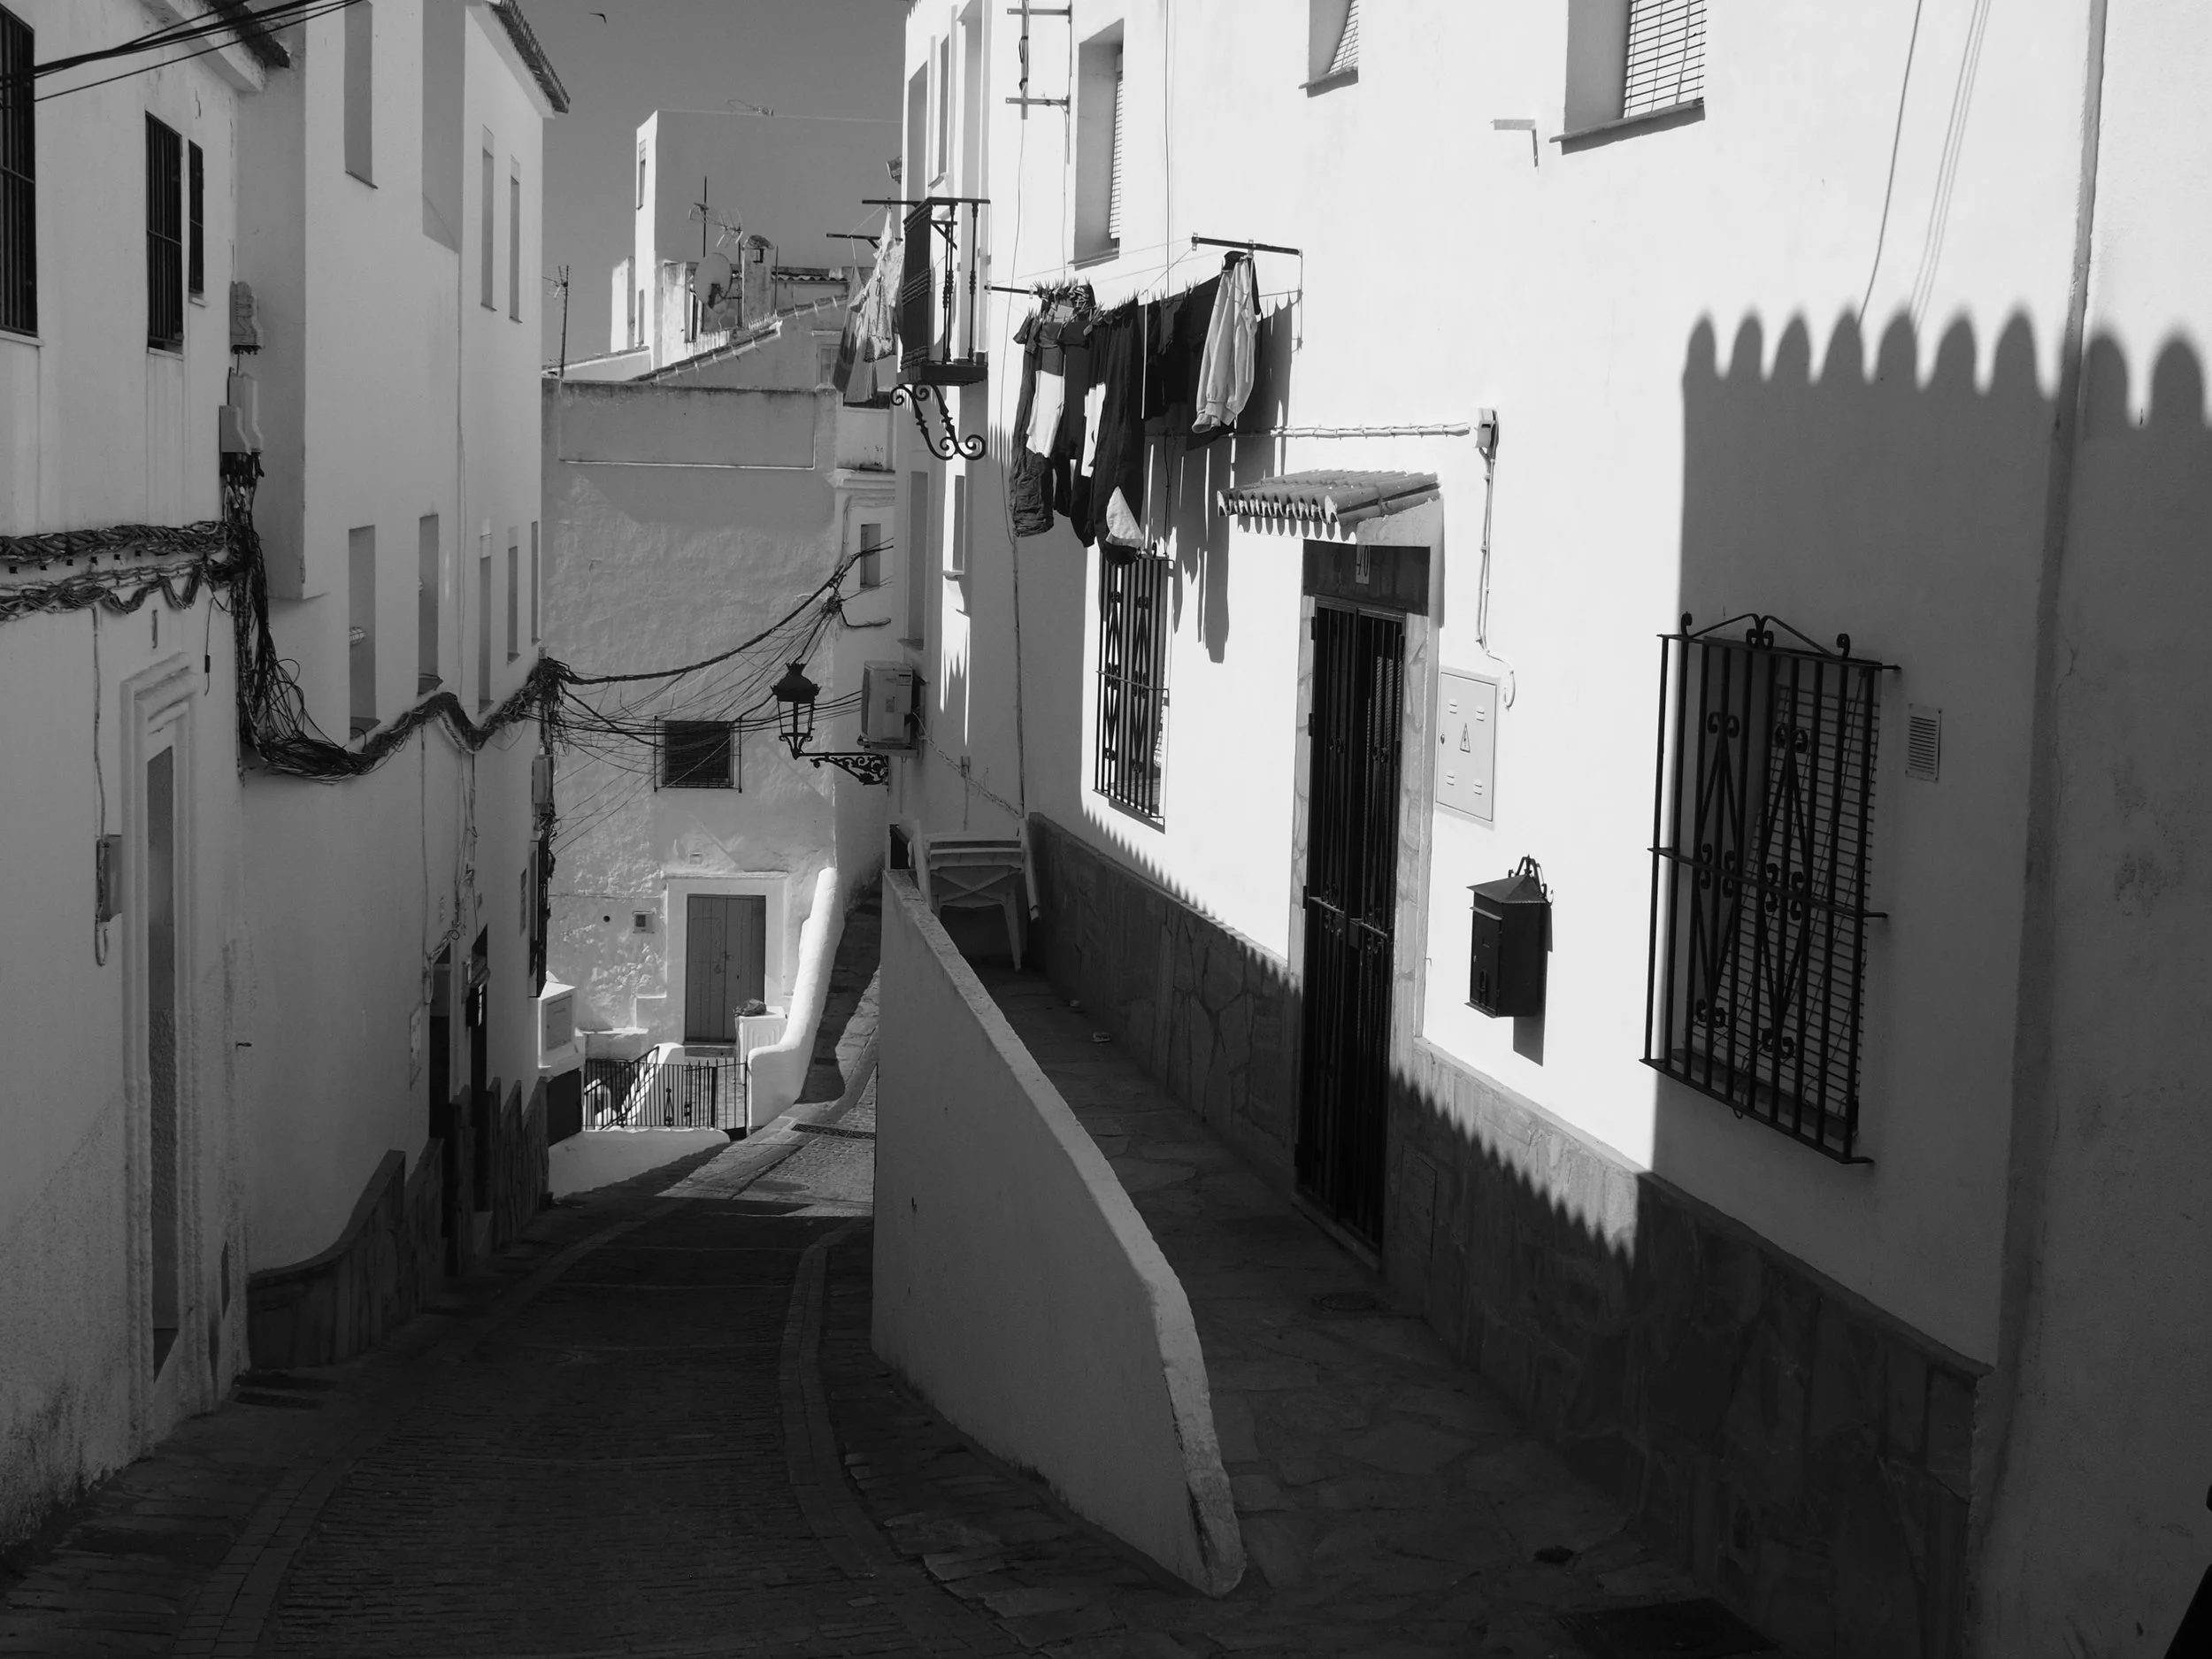
Highlight Spot vs Standard Spot
On the Olympus Stylus 1s, alongside standard spot metering, there are two other options — Highlight Spot and Shadow Spot. I'd seen them in the menus before but never had a reason to dig into what they actually did differently.
Standard spot metering takes a tiny reading from the centre of the frame — on most cameras somewhere between 1-5% of the image — and tries to render that spot as a neutral mid-grey. Point it at something properly bright, like a sunlit white wall, and the camera will try to dim it down to grey. That's the opposite of what you want when the whole point is a bright, sunlit scene.
Highlight Spot Metering changes the baseline. Instead of pushing your metered point toward neutral grey, it pushes it toward the brightest end of the exposure scale without letting it clip into pure, detail-less white. From what I understand, on Olympus cameras that's roughly a 2.5 stop shift from where standard spot metering would land. You meter the brightest part of the scene you actually care about, and the camera holds it just short of blowing out completely.
Seeing as the Stylus 1s is a small sensor compact camera, the dynamic range isn't exactly — well, dynamic — compared to a larger sensor body. There's less room for error, less latitude to recover anything once it's gone. That made getting this right even more important than it might be on a full frame or APS-C camera with a bit more breathing space built in.
That's exactly what I needed for the trip. White walls in full Spanish sun were going to be the single biggest exposure challenge of the whole ten days, and I didn't want my highlights getting as burnt and crispy as I knew I was going to be by the end of it. I wanted detail retained in those highlights, not a flat white nothing where the texture of the render or the stonework should be.
Testing It Before I Left
I'm not the sort to trust a new technique blind, so I went for a few photowalks before the trip specifically to get a feel for Highlight Spot Metering. Nothing complicated — just pointing it at the brightest parts of whatever scene I was shooting, locking exposure, recomposing, and checking the results.
Having an EVF made an enormous difference here. I could watch the exposure shift live in the viewfinder as I moved the spot around the frame, which meant I wasn't guessing or chimping the rear screen after every shot. I could see in real time whether a highlight was going to hold detail or disappear, and adjust before I even pressed the shutter. If you've only ever metered through an optical viewfinder or relied purely on a histogram after the fact, that live feedback loop is something else. It turns metering from a bit of theory into something you can actually watch happening.
By the time I left for Spain I was reasonably confident with it, comfortable enough to trust it rather than fall back on my usual habits the moment the light got difficult.
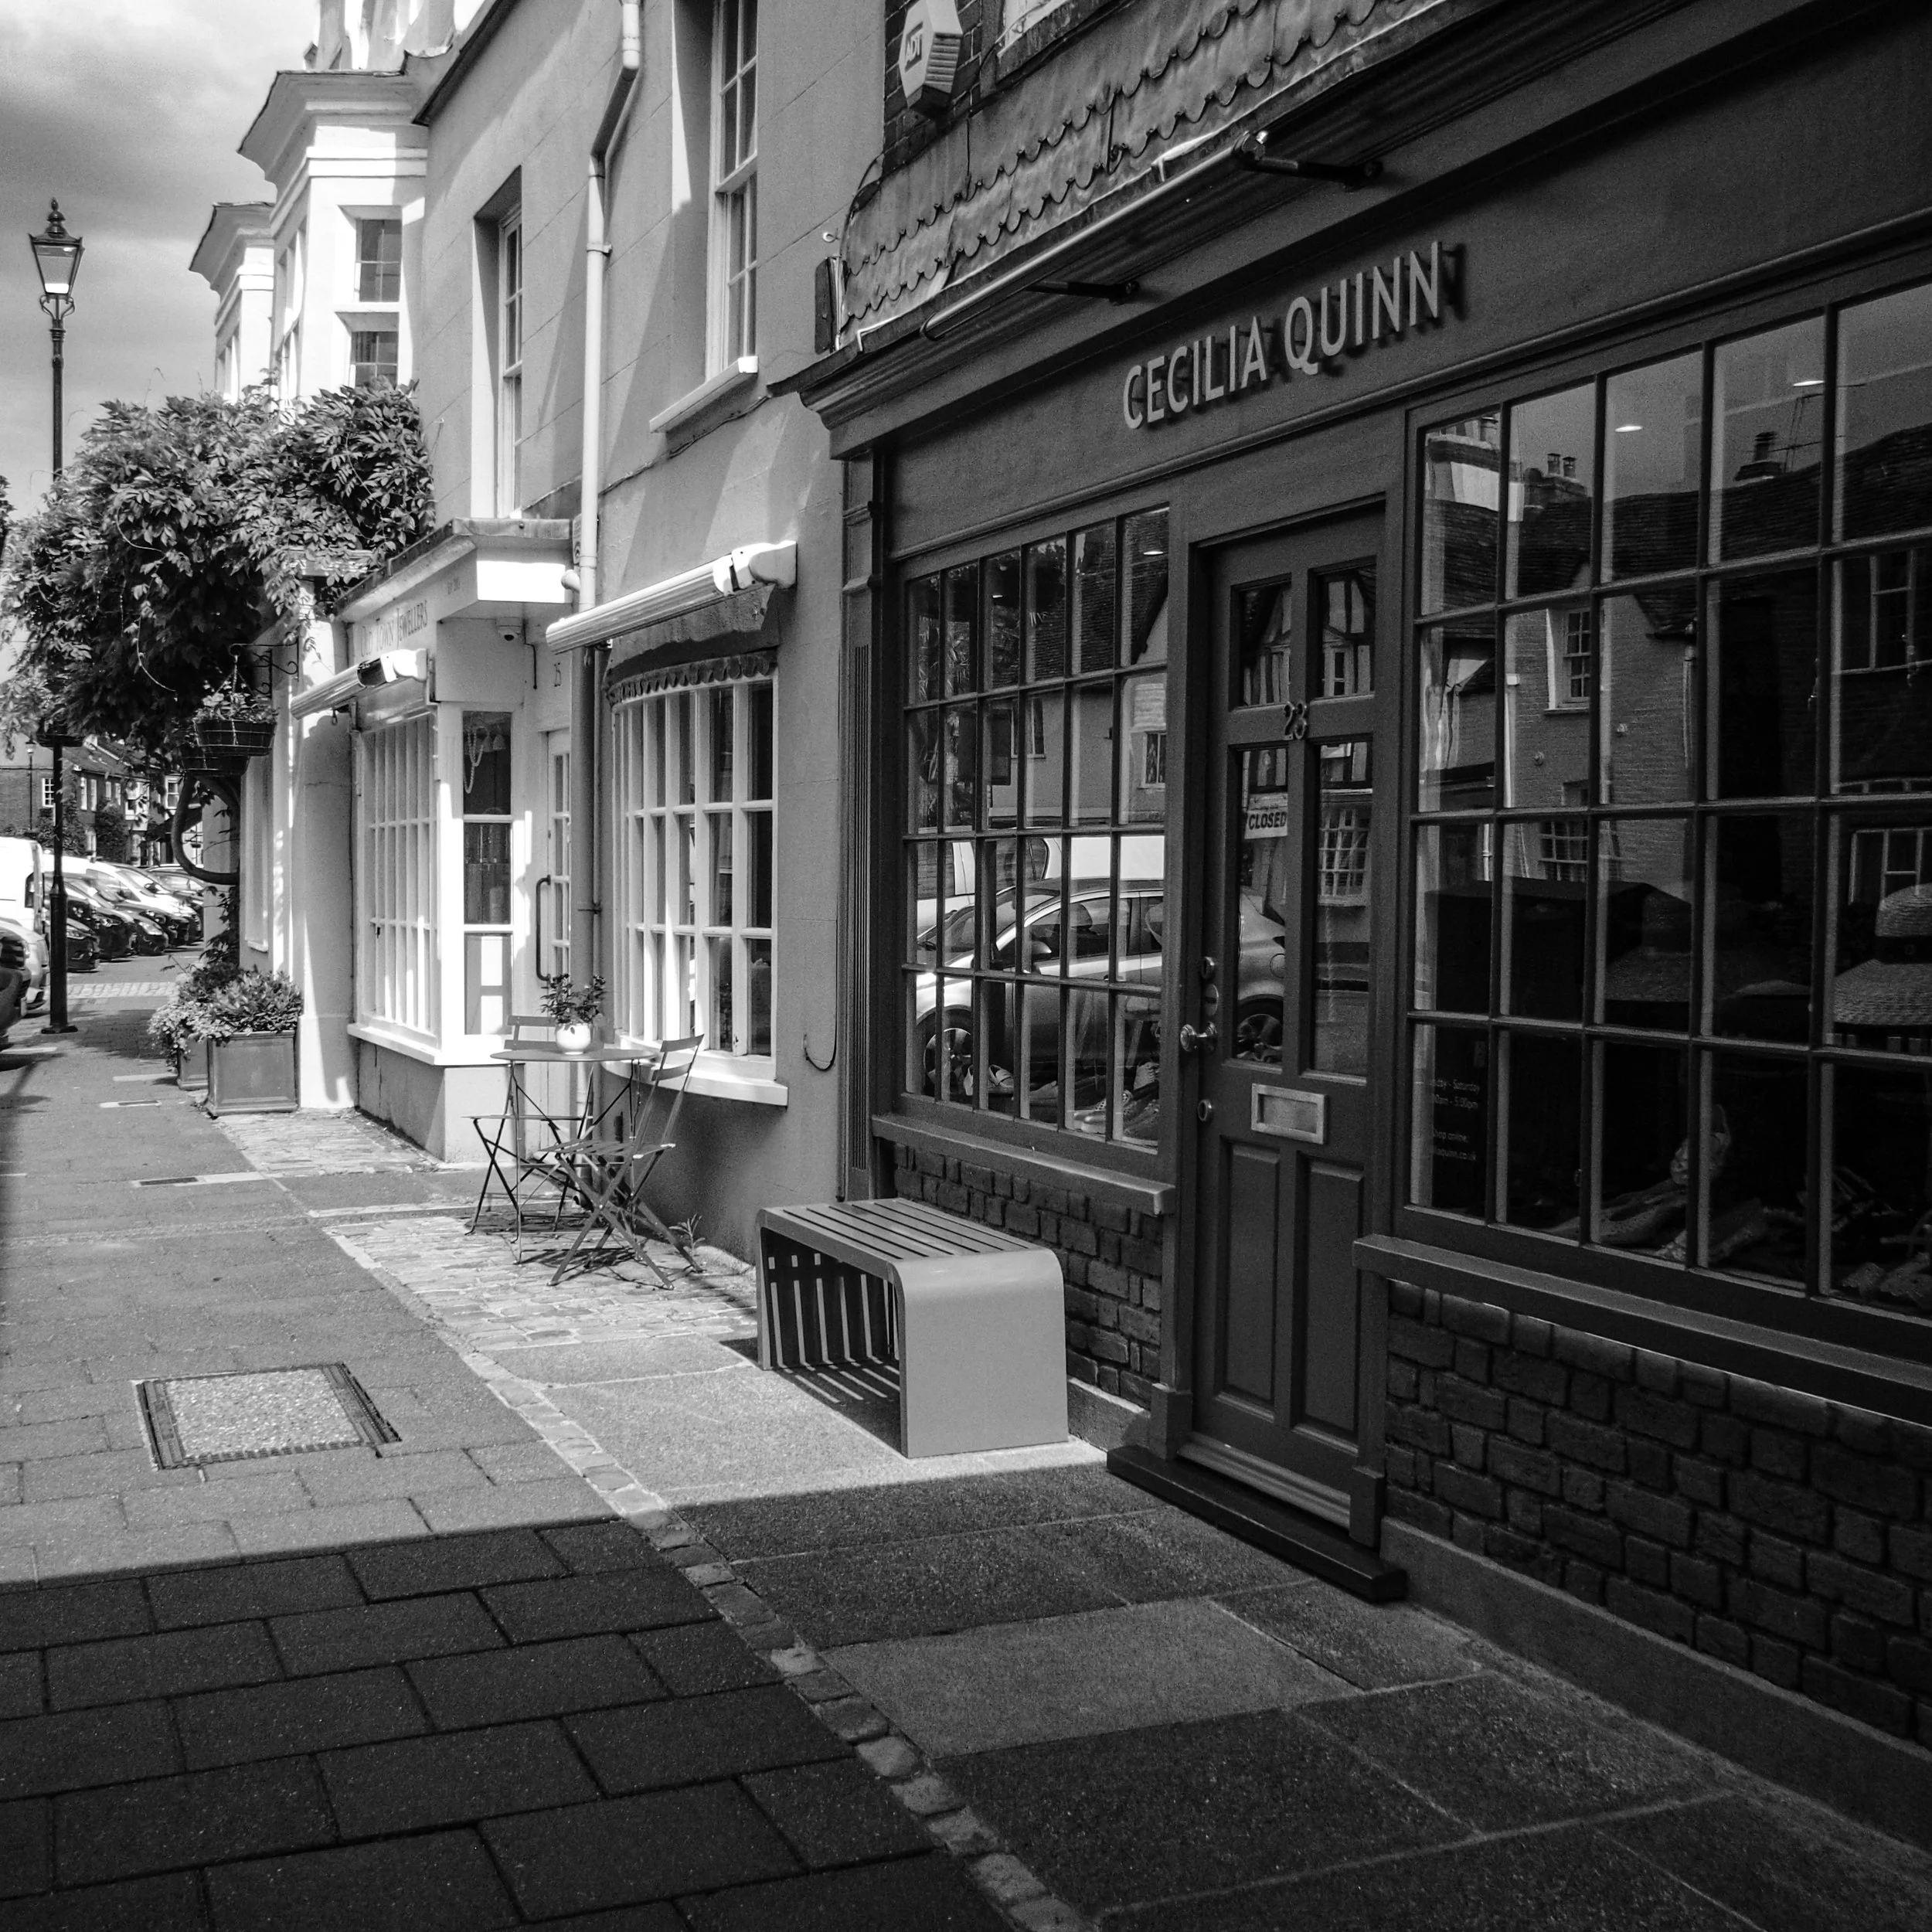
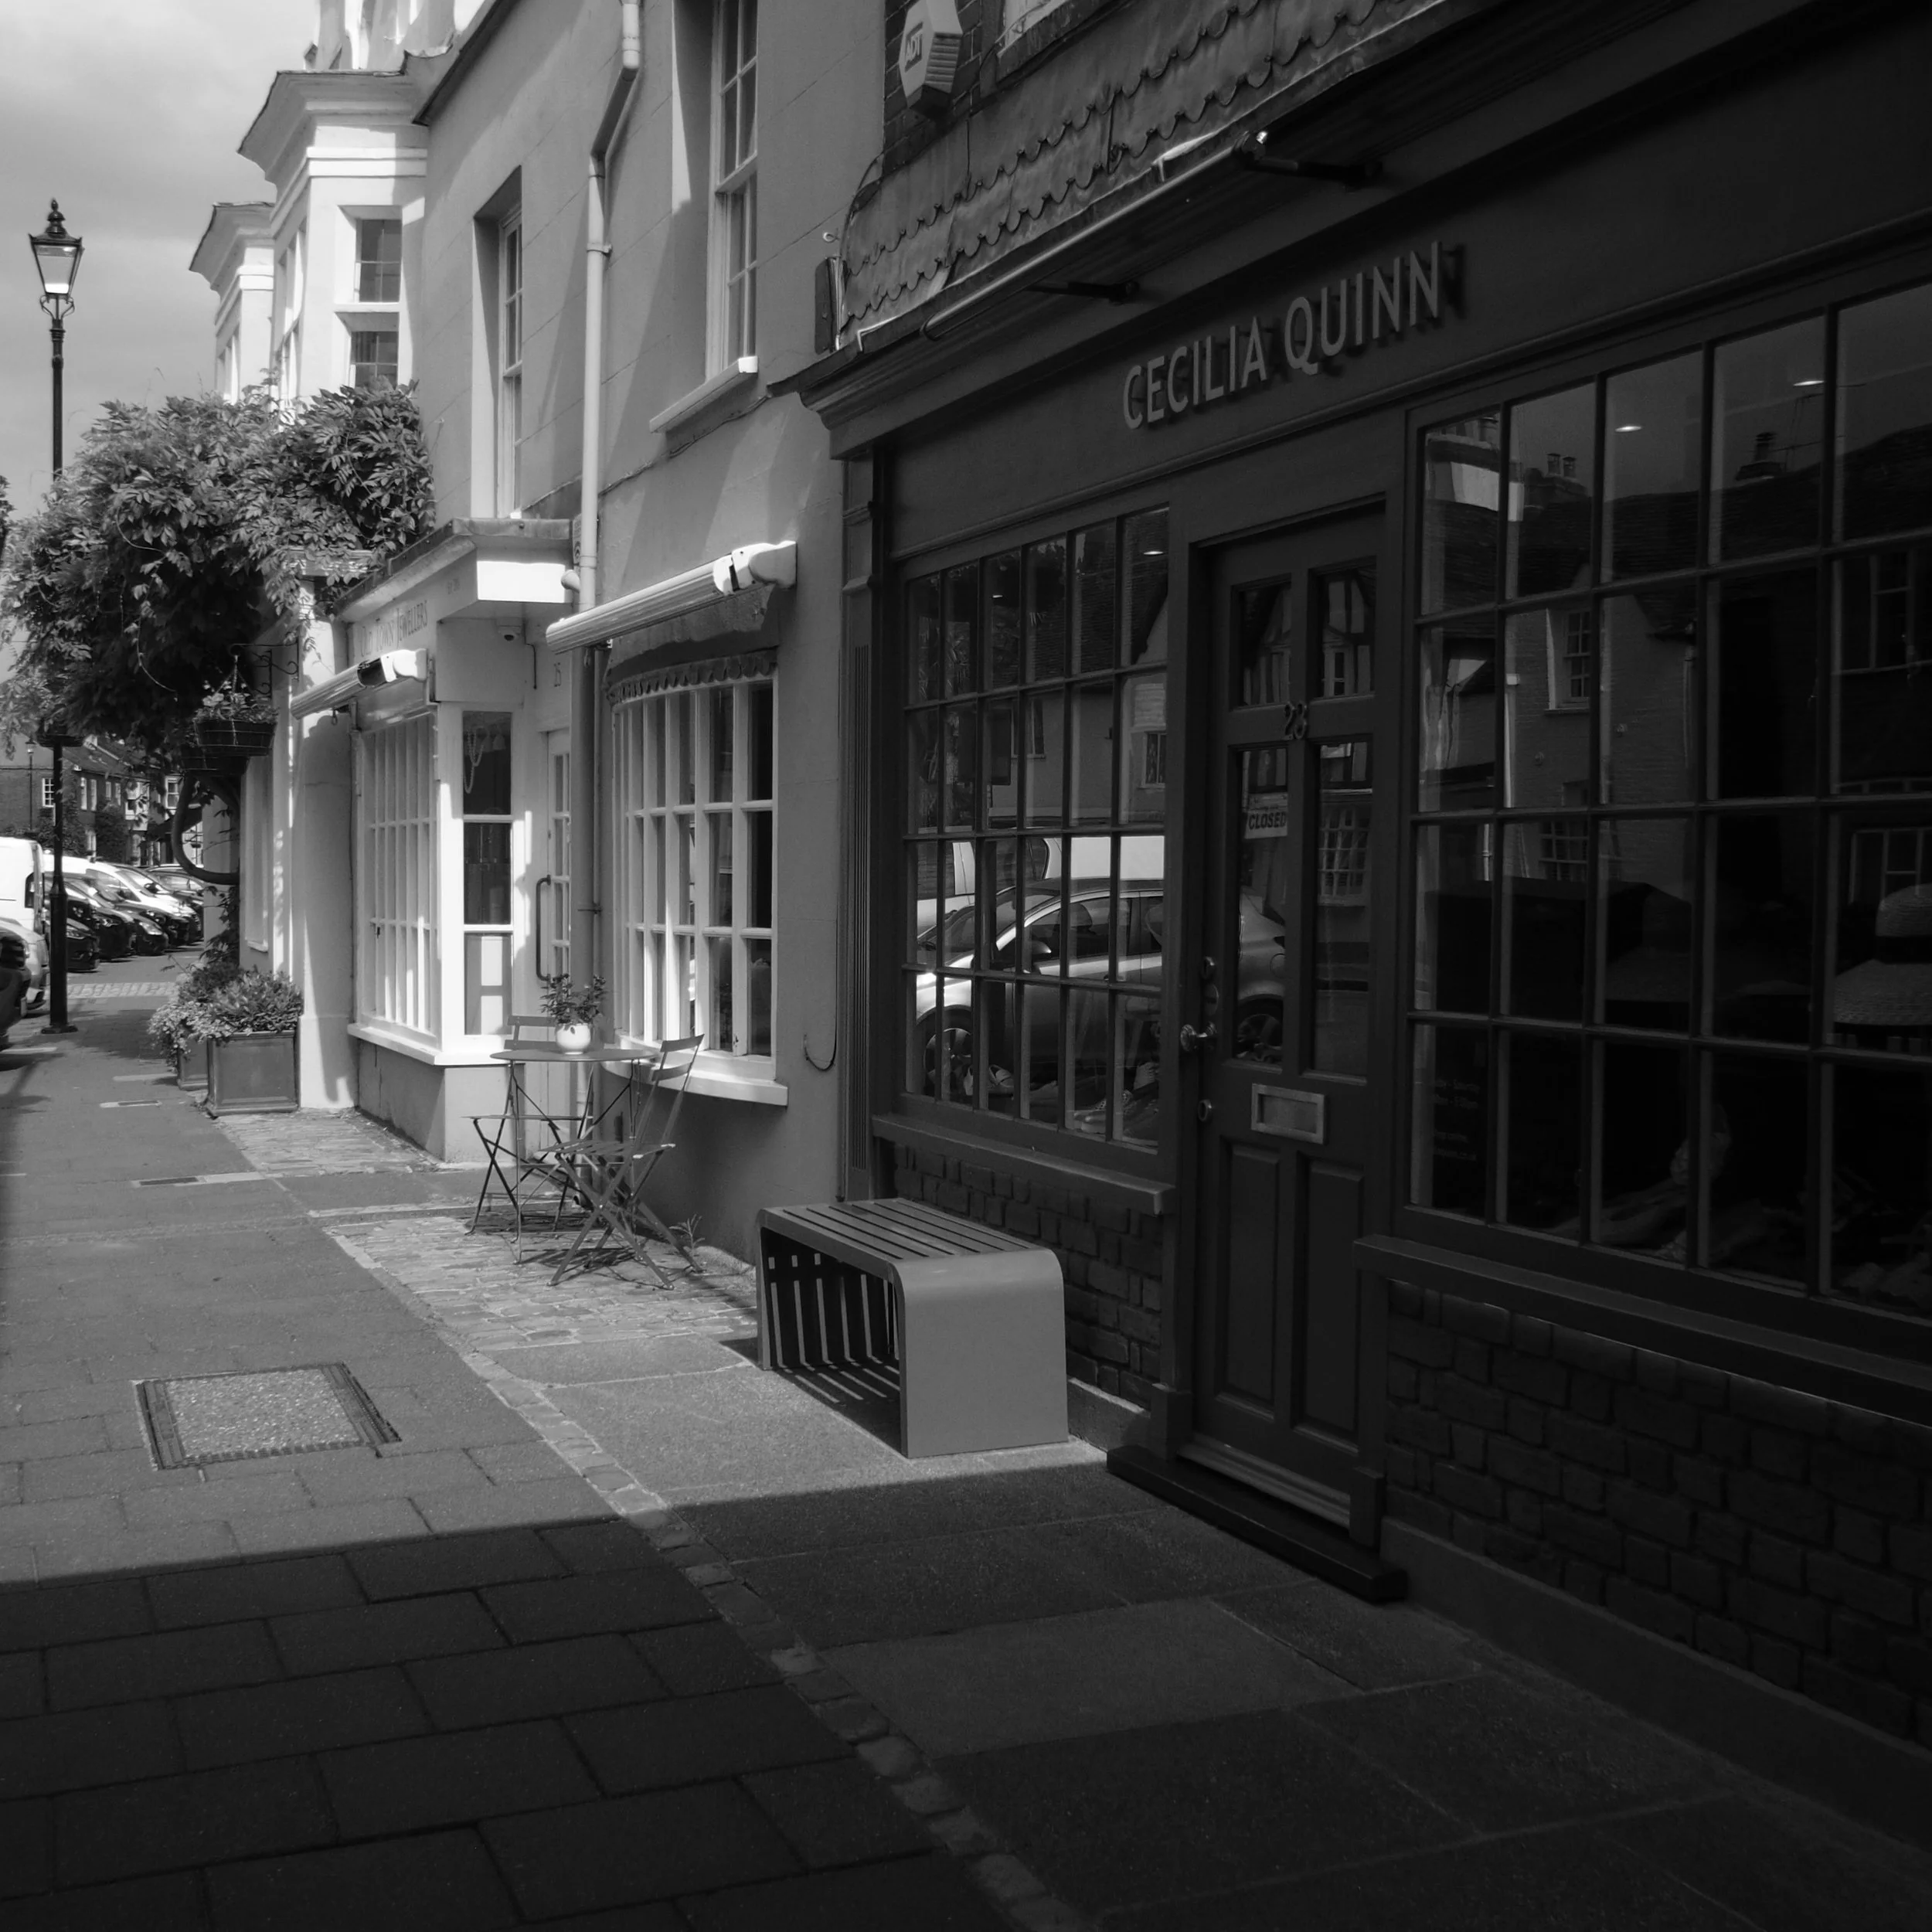
How It Actually Performed
Ten days in Andalusia, plenty of harsh sun, white buildings everywhere — and when I sat down to review the images properly on the laptop, when I got home, I was genuinely more than happy. That's probably an understatement.
Even on the images where the composition didn't work, or where the shot just wasn't anything special — the one thing I couldn't fault, on a single image across the whole set, was the exposure. That's not something I can say about most of my trips. Usually there's at least a handful where I'm wincing at blown highlights or crushed shadows, wishing I'd metered differently. Not this time.
The white-walled streets, the sunlit courtyards, the harsh midday contrast between deep shade and direct sun — all of it held together. Highlights kept their texture. The exposures looked considered rather than guessed, because they were.
Coming Back to an Old Skill
Spot metering, and highlight-weighted metering specifically, isn't something I discovered on this trip. It's something I'd put down years ago and finally picked back up. Back when I was shooting film, metering properly wasn't optional — you didn't get a second chance at a shot you'd wasted a frame on, so you learned to trust your meter and your own reading of the light. Digital cameras, with their increasingly clever evaluative and matrix metering, made that discipline easy to let slide. The camera got good enough at guessing that I stopped needing to think about it.
What this trip did wasn't introduce me to a new concept. It reminded me how much more control you actually have when you take metering back into your own hands rather than leaving it to the camera's best guess. Highlight Spot Metering is just a more refined, purpose-built version of something I already understood from years ago — it's modern hardware doing a more precise job of what I used to work out manually with a handheld meter and a bit of experience.
Why It Matters More in Black and White
Here's the bit that I think matters most for how I shoot. I work in black and white, JPEG, straight out of camera with minimal post-processing. That means I don't have the luxury of pulling detail back from blown highlights in a RAW file during editing. What the camera captures at the point of exposure is, more or less, what I'm left with.
In colour photography, a blown highlight is often forgiving — sometimes you can recover some information, sometimes the eye just accepts a bright white sky or wall as part of the scene. In black and white, tonal range is the entire game. It's not colour doing the work of separating elements in a frame, it's tone. If your highlights blow out to flat white, you've lost not just detail but an entire register of the tonal scale that your image depends on to read properly. A white building under harsh sun, rendered in black and white, needs to actually show the texture of the render, the shadow lines of the shutters, the gradation across the wall — not just sit there as an empty white block.
Highlight Spot Metering protects exactly that. By deliberately holding the brightest point of interest just below clipping, you're preserving the full tonal range you need for black and white to actually work as a discipline rather than just colour photography with the saturation stripped out.
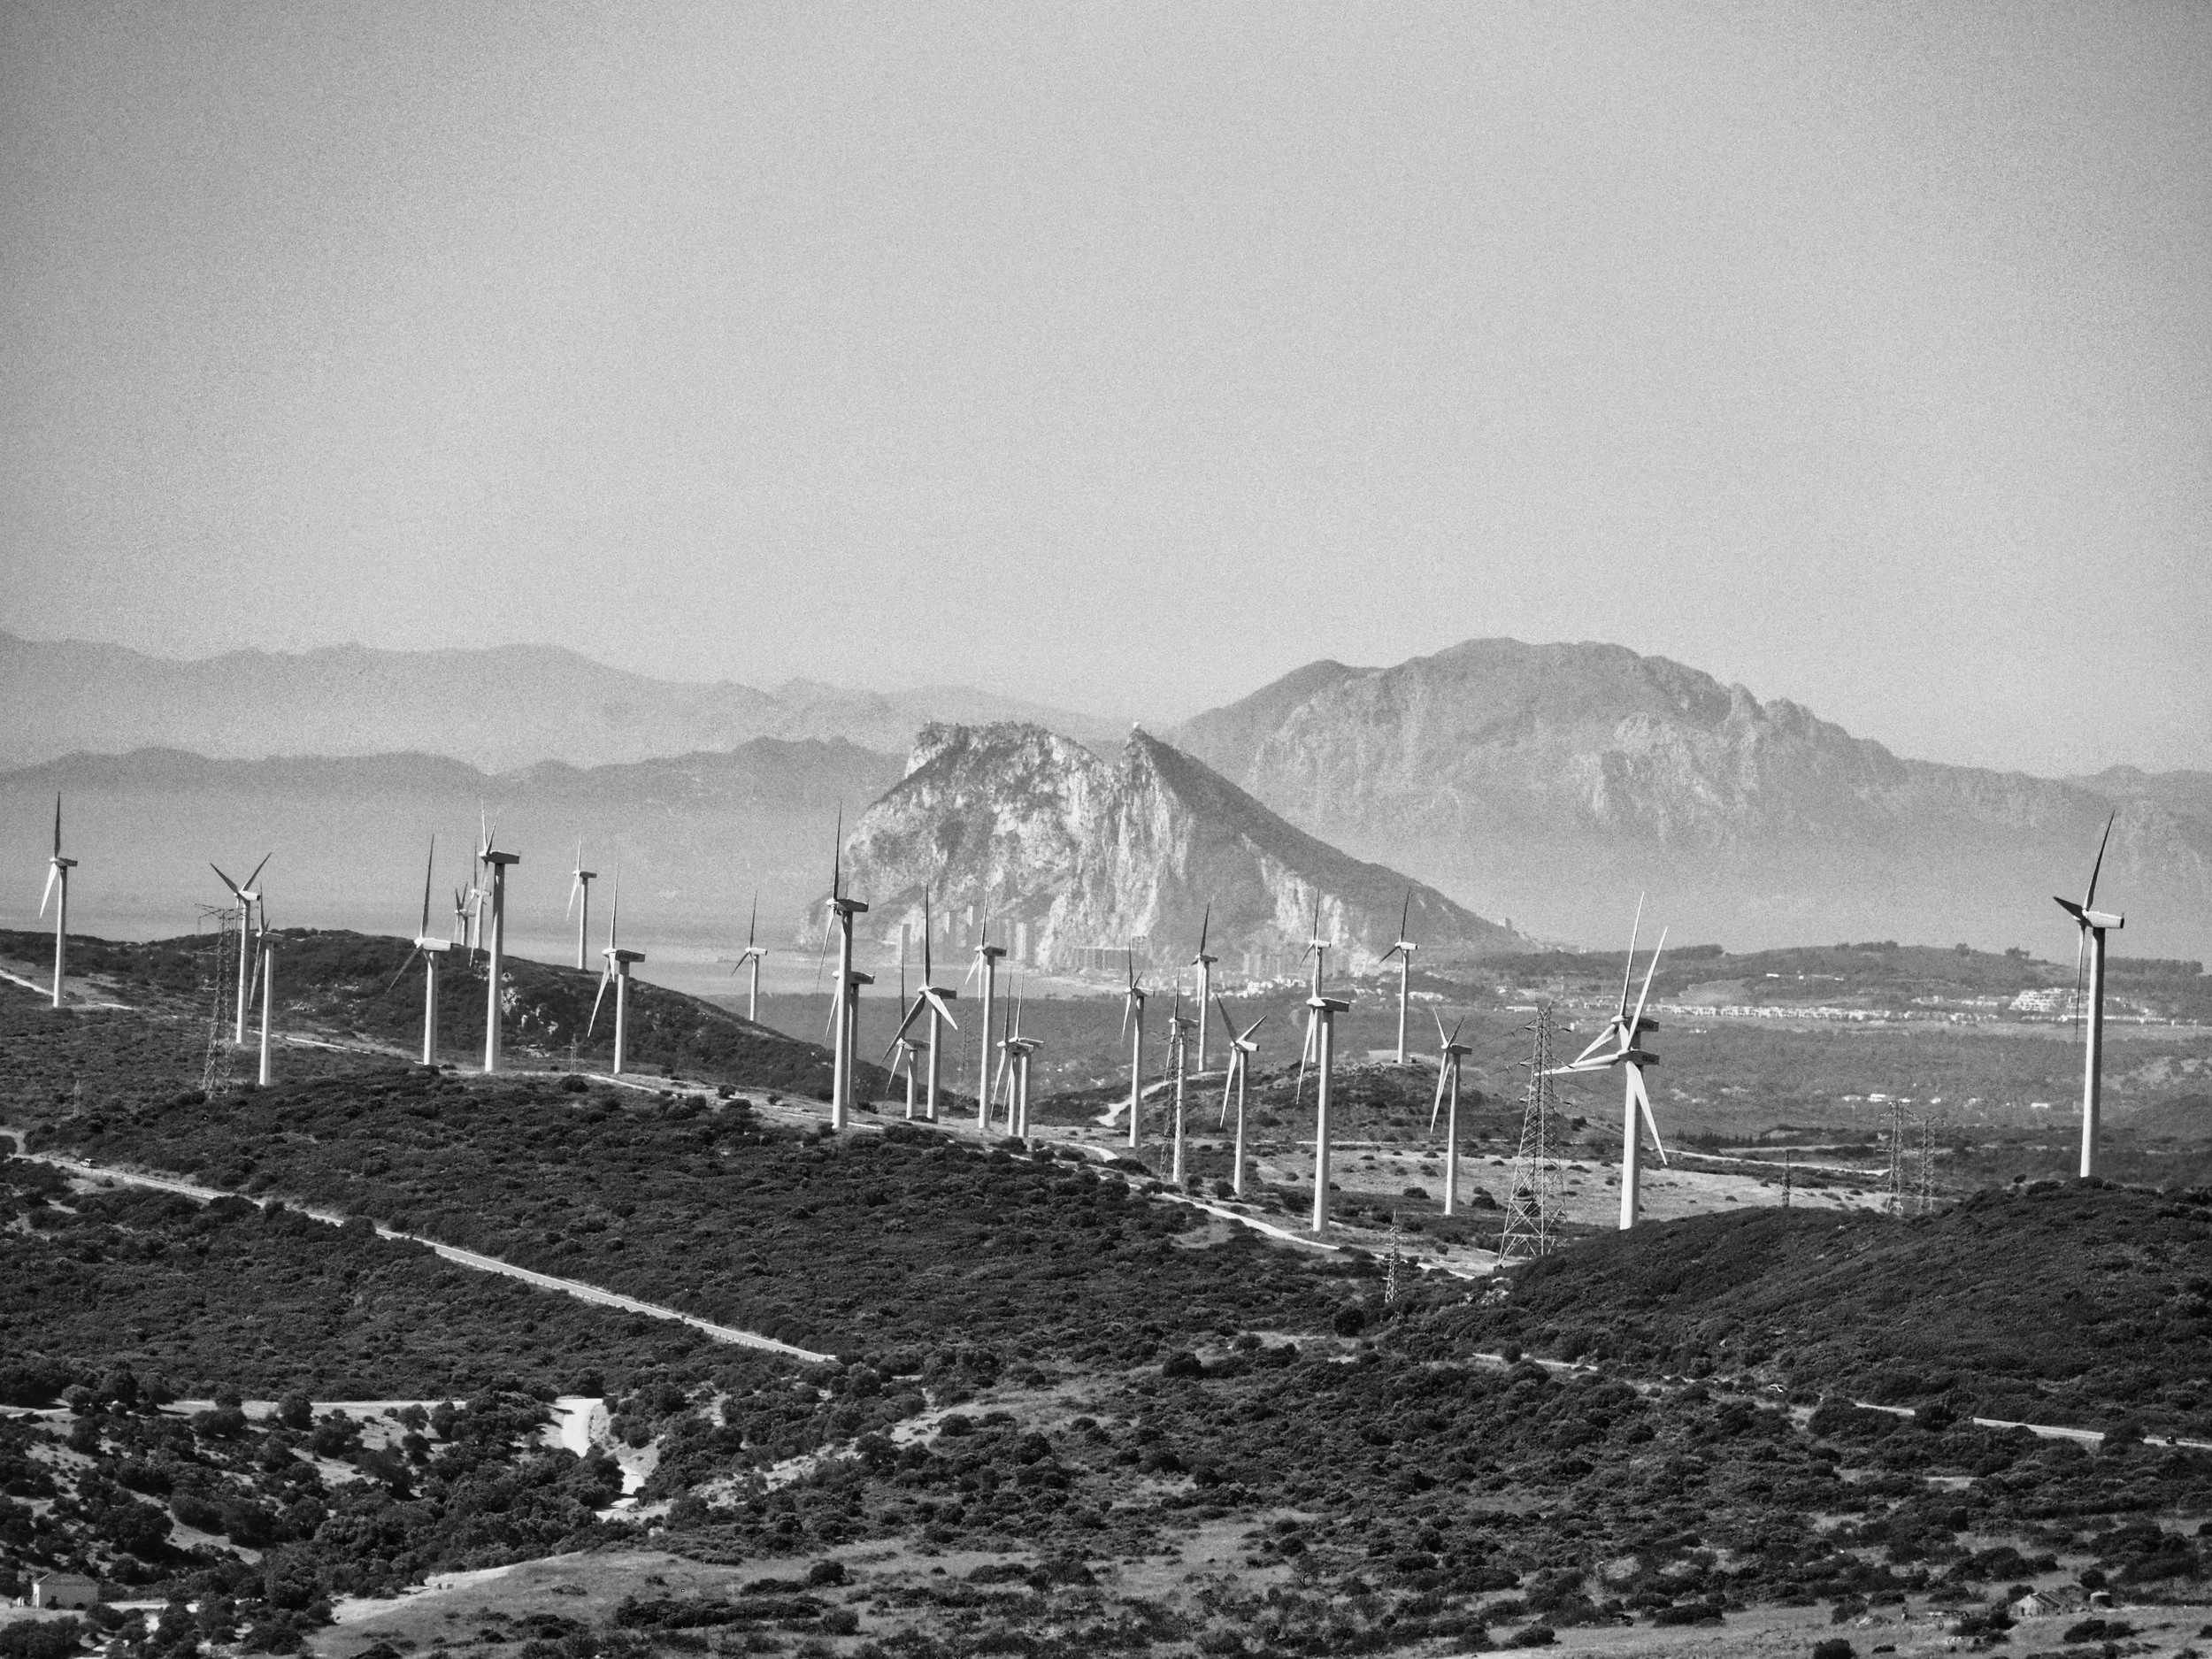
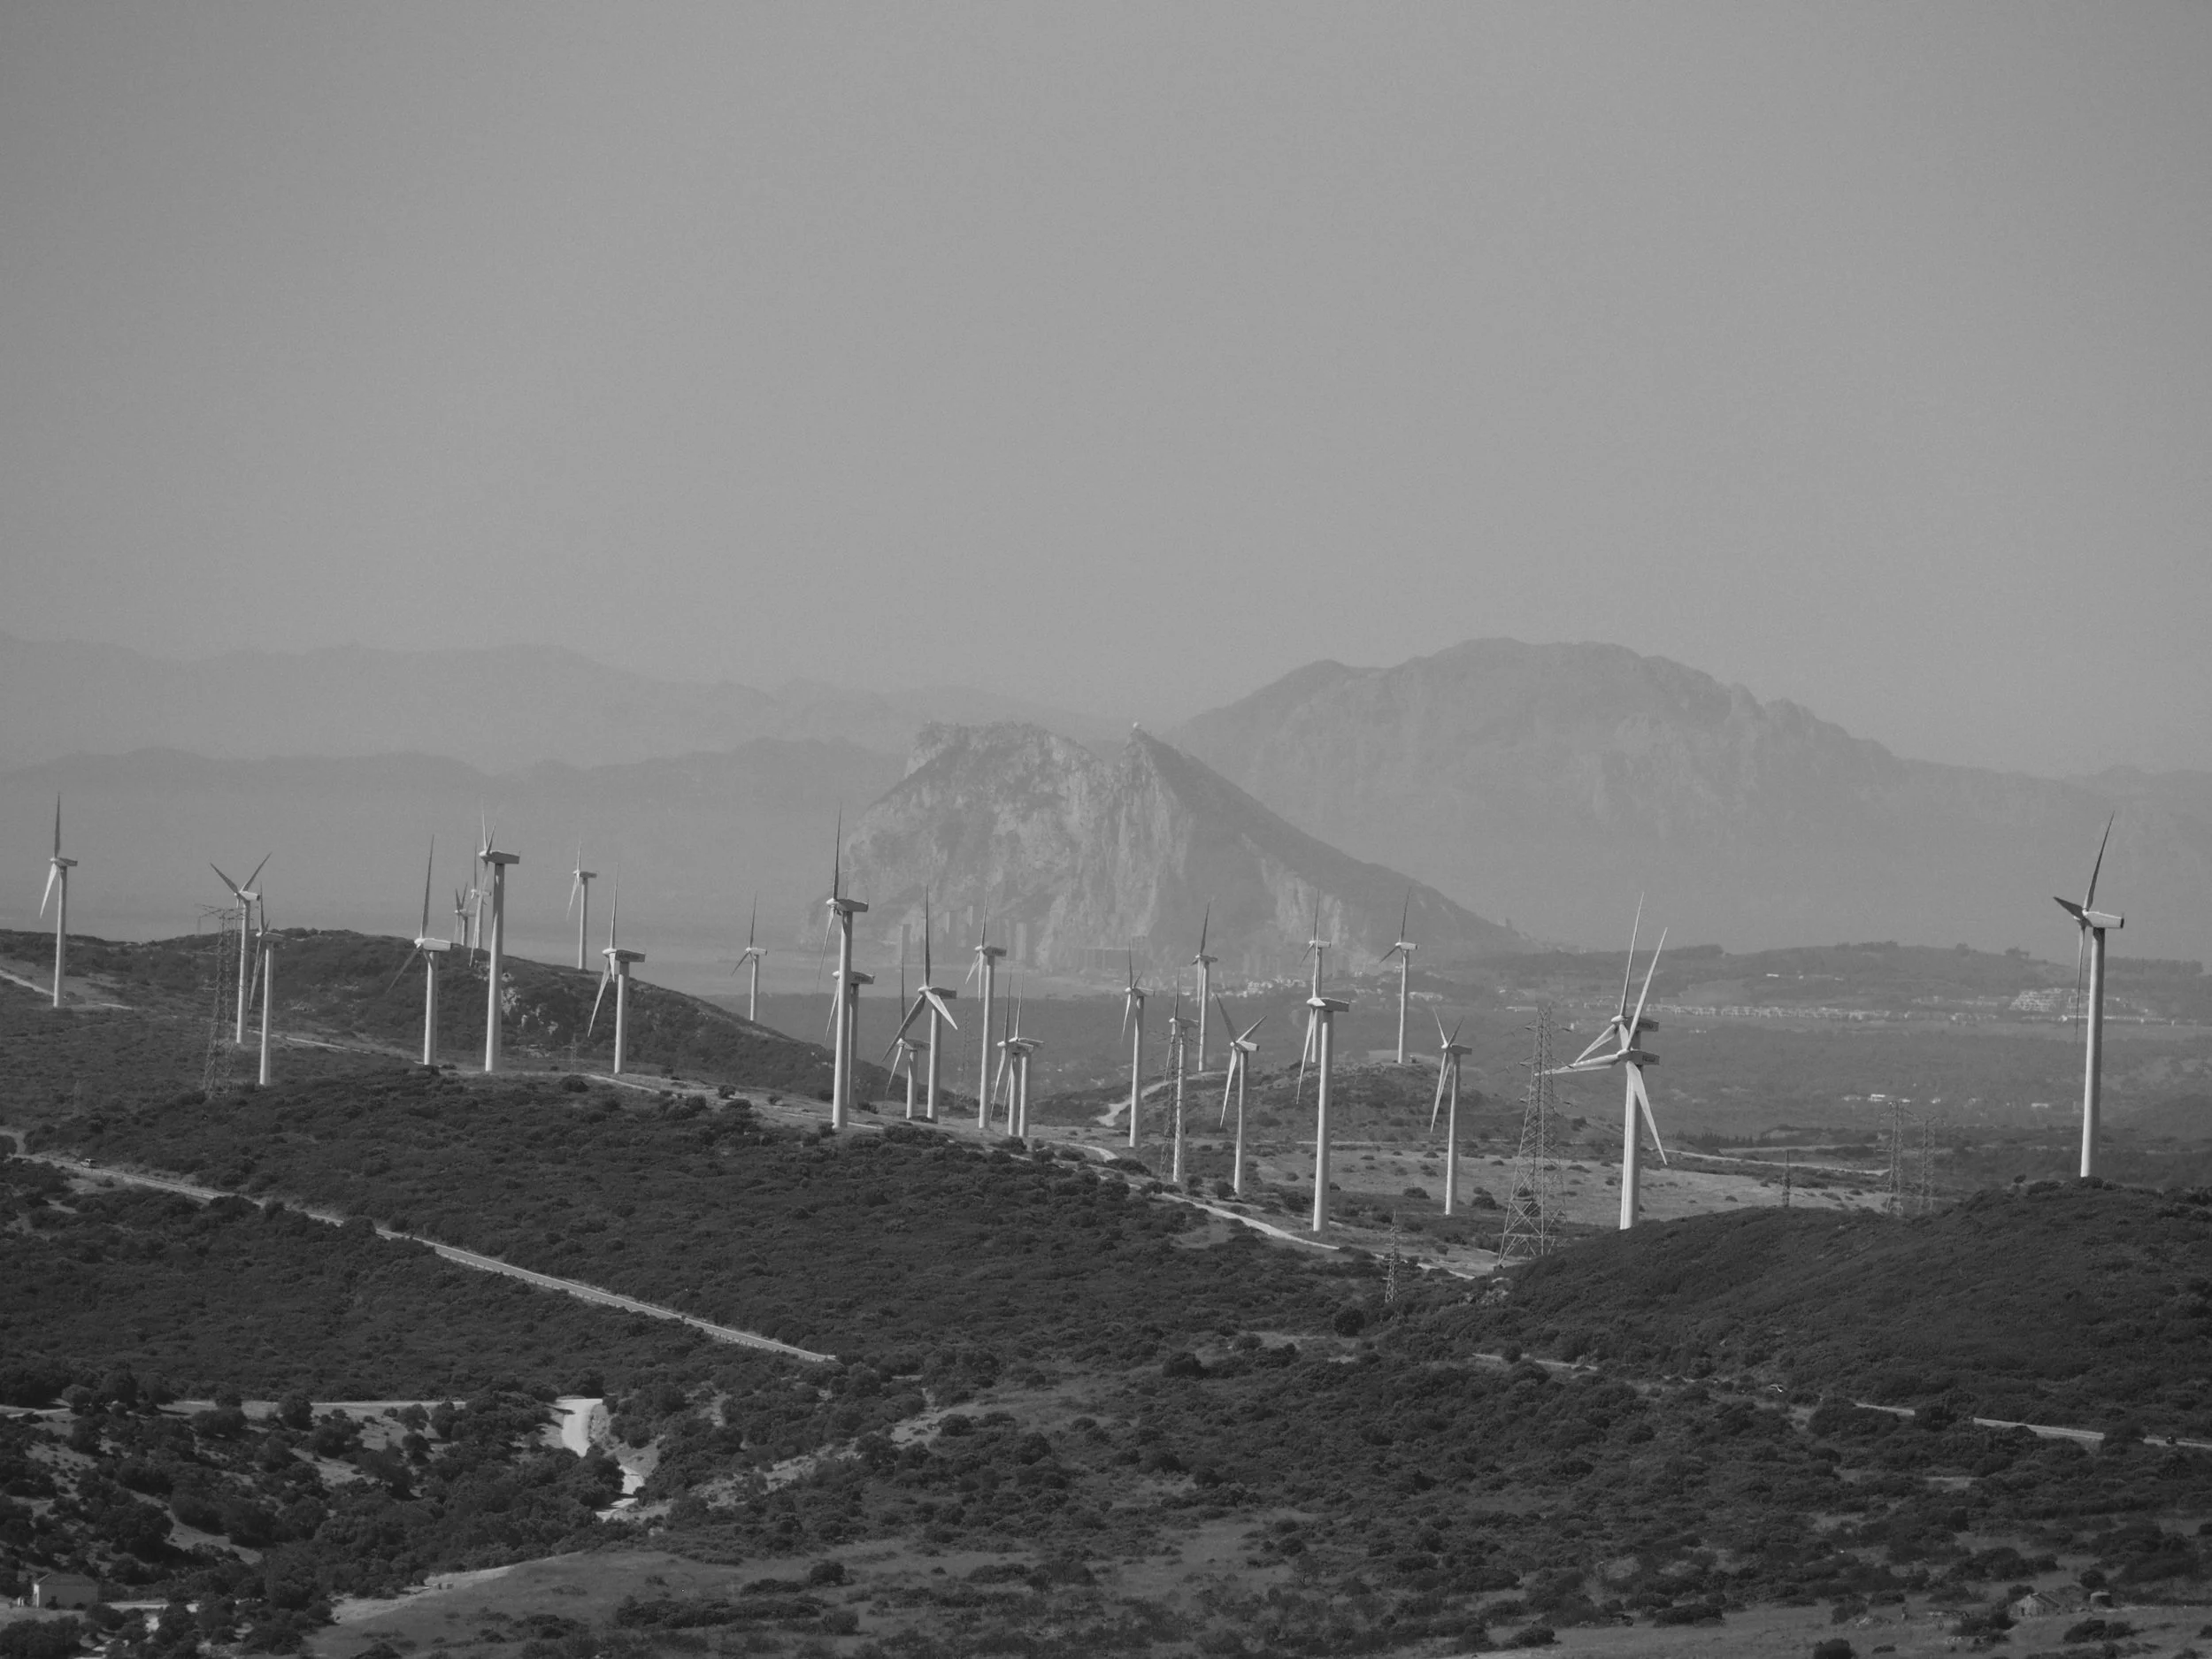
The Trade-off Worth Knowing
It's not free of compromise. Because Highlight Spot Metering optimises specifically for your brightest chosen point, anything significantly darker elsewhere in the frame can fall hard into deep shadow, sometimes near-silhouette. If your scene has huge dynamic range — bright sunlit wall on one side, deep shade on the other — you're making a choice about which end of that scale you're protecting, and the other end pays for it.
For my Andalusia work that trade-off suited me. Heavy shadow areas rendering near-black in a black and white street scene isn't a problem, it's often exactly the look I'm after. Strong contrast is part of what makes a lot of my work feel the way it does. If you're someone who needs detail preserved across the whole tonal range in every single frame, you'd need to think more carefully about when to reach for this mode versus a more balanced metering approach.
The Other Half — AEL on a Back Button
The other change I made alongside learning the metering mode itself was setting Auto Exposure Lock to one of the easily reachable back buttons on the camera. A lot of modern cameras already have this button as a default, mine doesn’t.
Spot metering on its own is only half the system. You meter your highlight, but then you need to recompose the shot — and if your exposure isn't locked, that careful reading you just took is meaningless the moment you move the camera. Having AEL mapped to a back button I could hit without taking my eye from the viewfinder meant the whole process became fluid. Meter the highlight, lock it with my thumb, recompose, shoot. No fumbling through menus, no breaking the shot.
That combination — Highlight Spot Metering plus a dedicated AEL button — is genuinely staying as my permanent setup now. It's rare that I commit to a technical change this firmly after one trip, but the results spoke for themselves clearly enough that I don't see myself going back to my old habits.
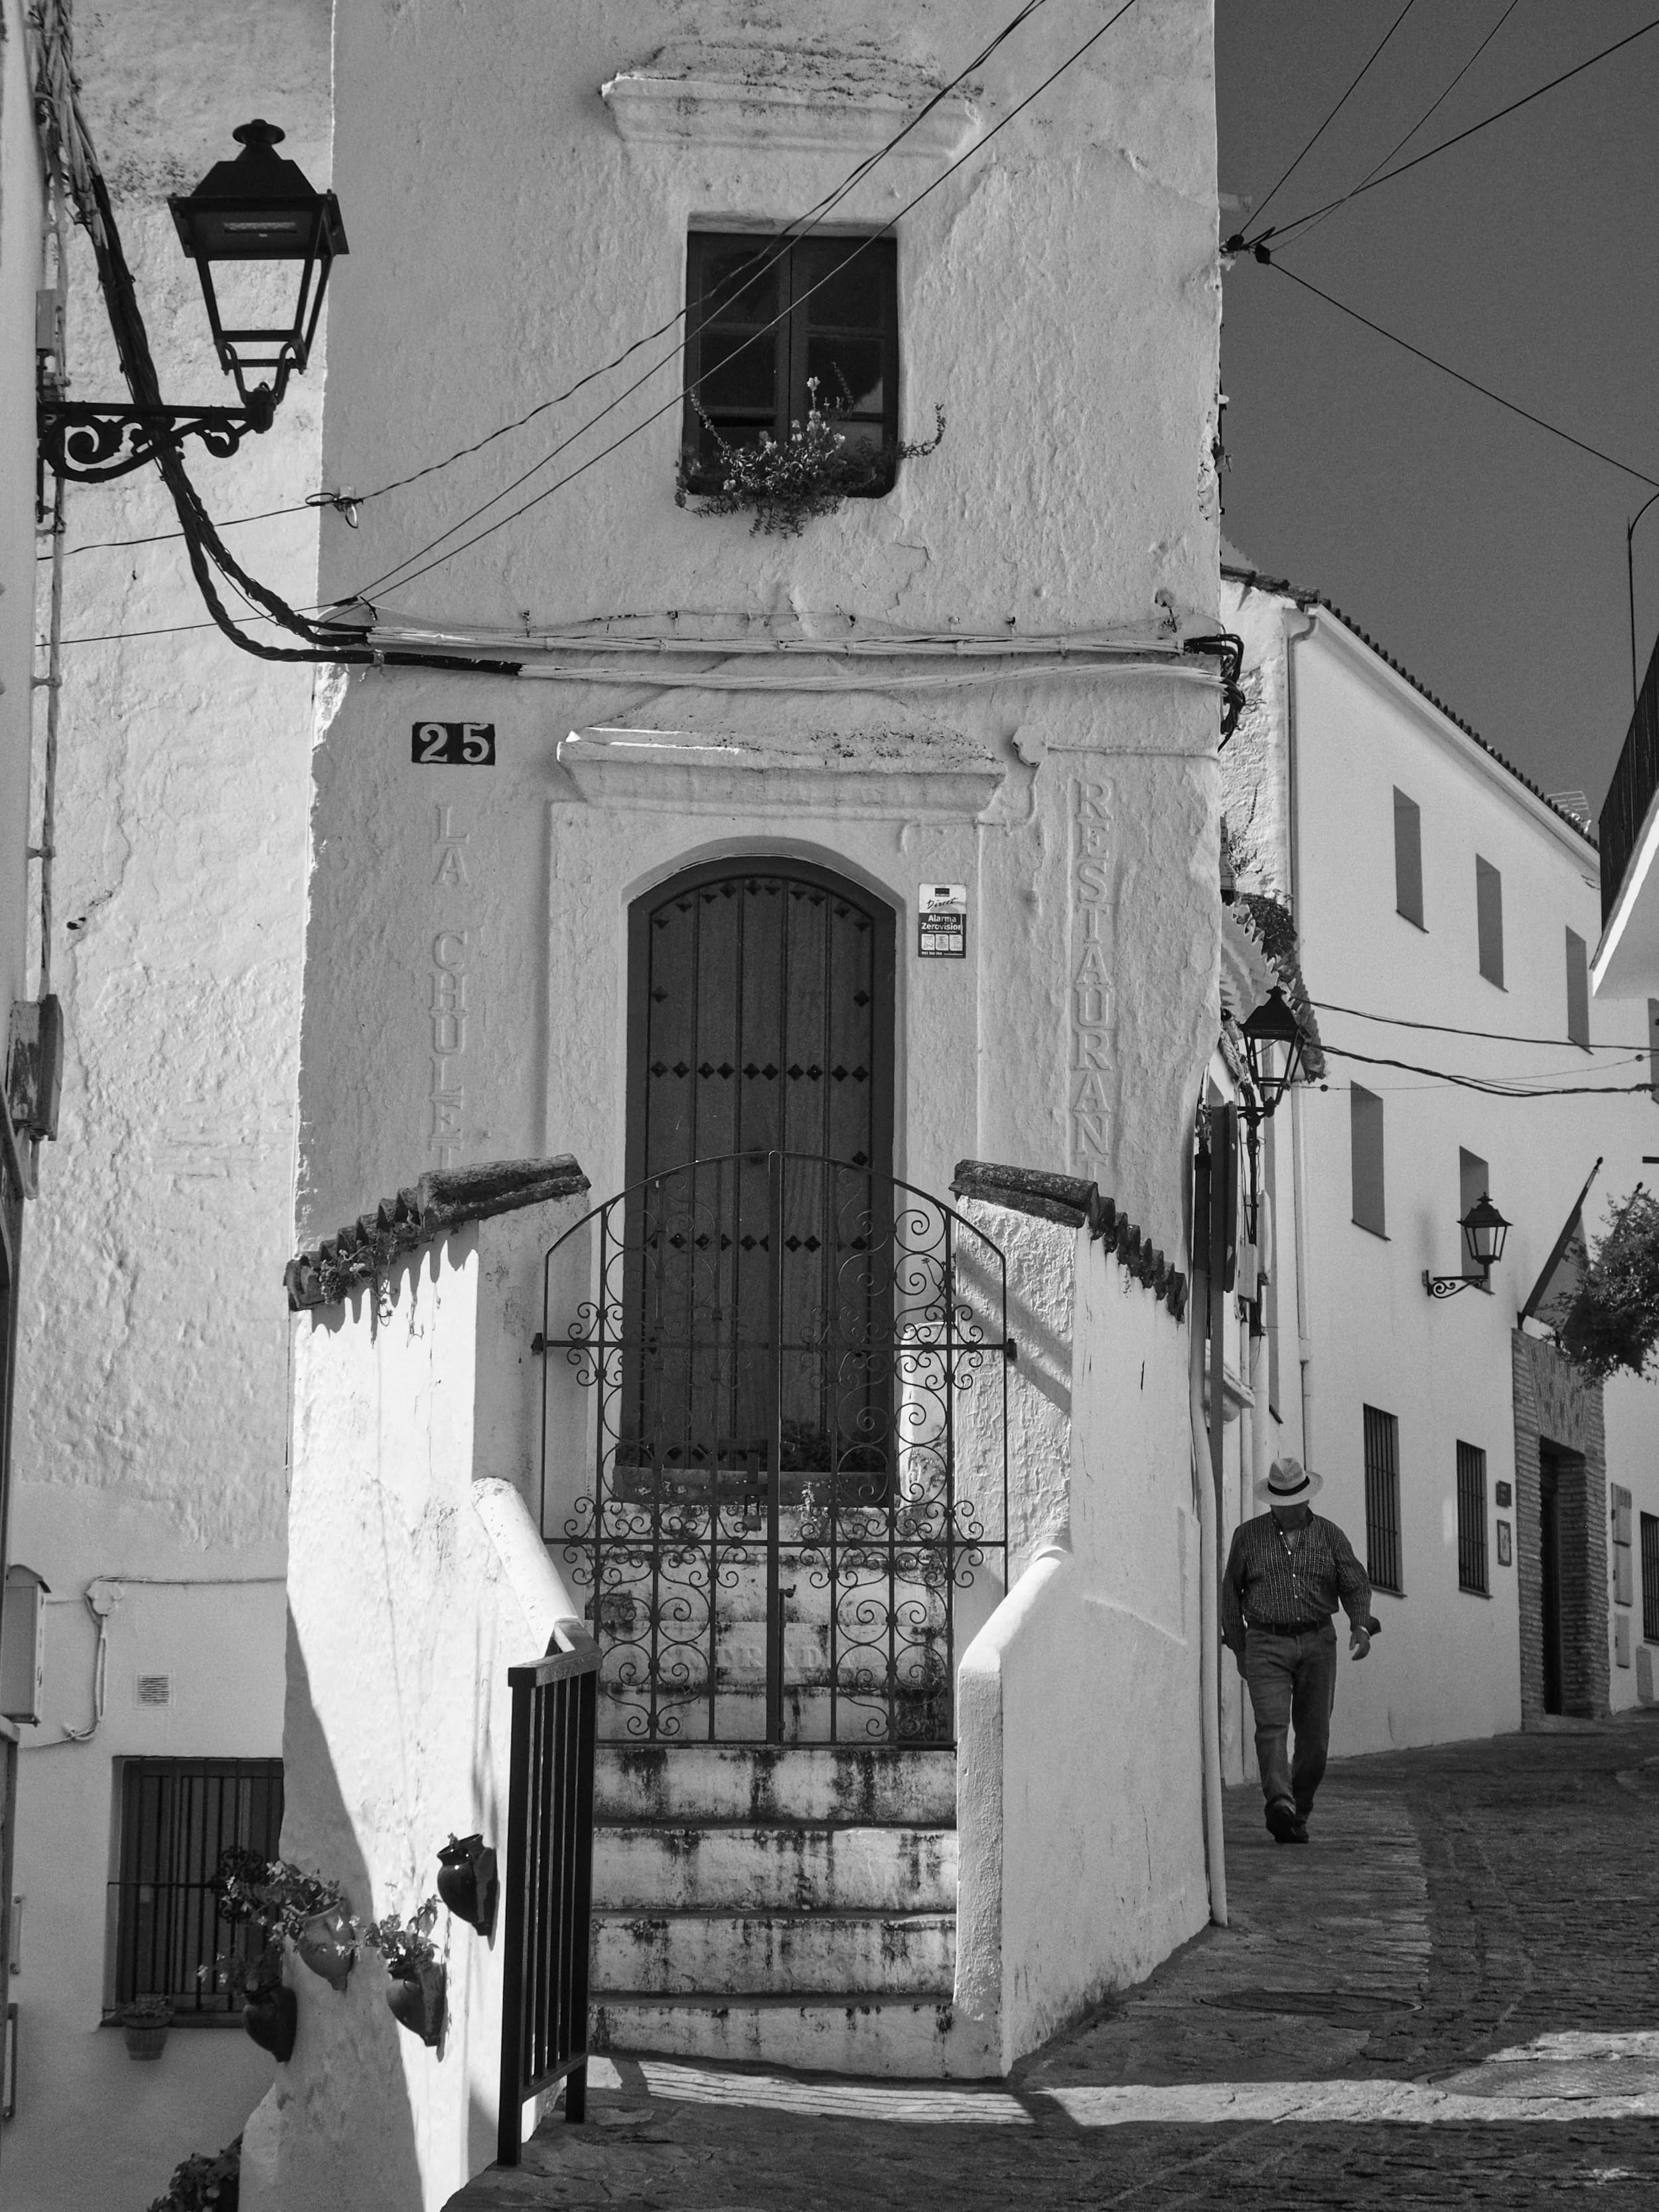
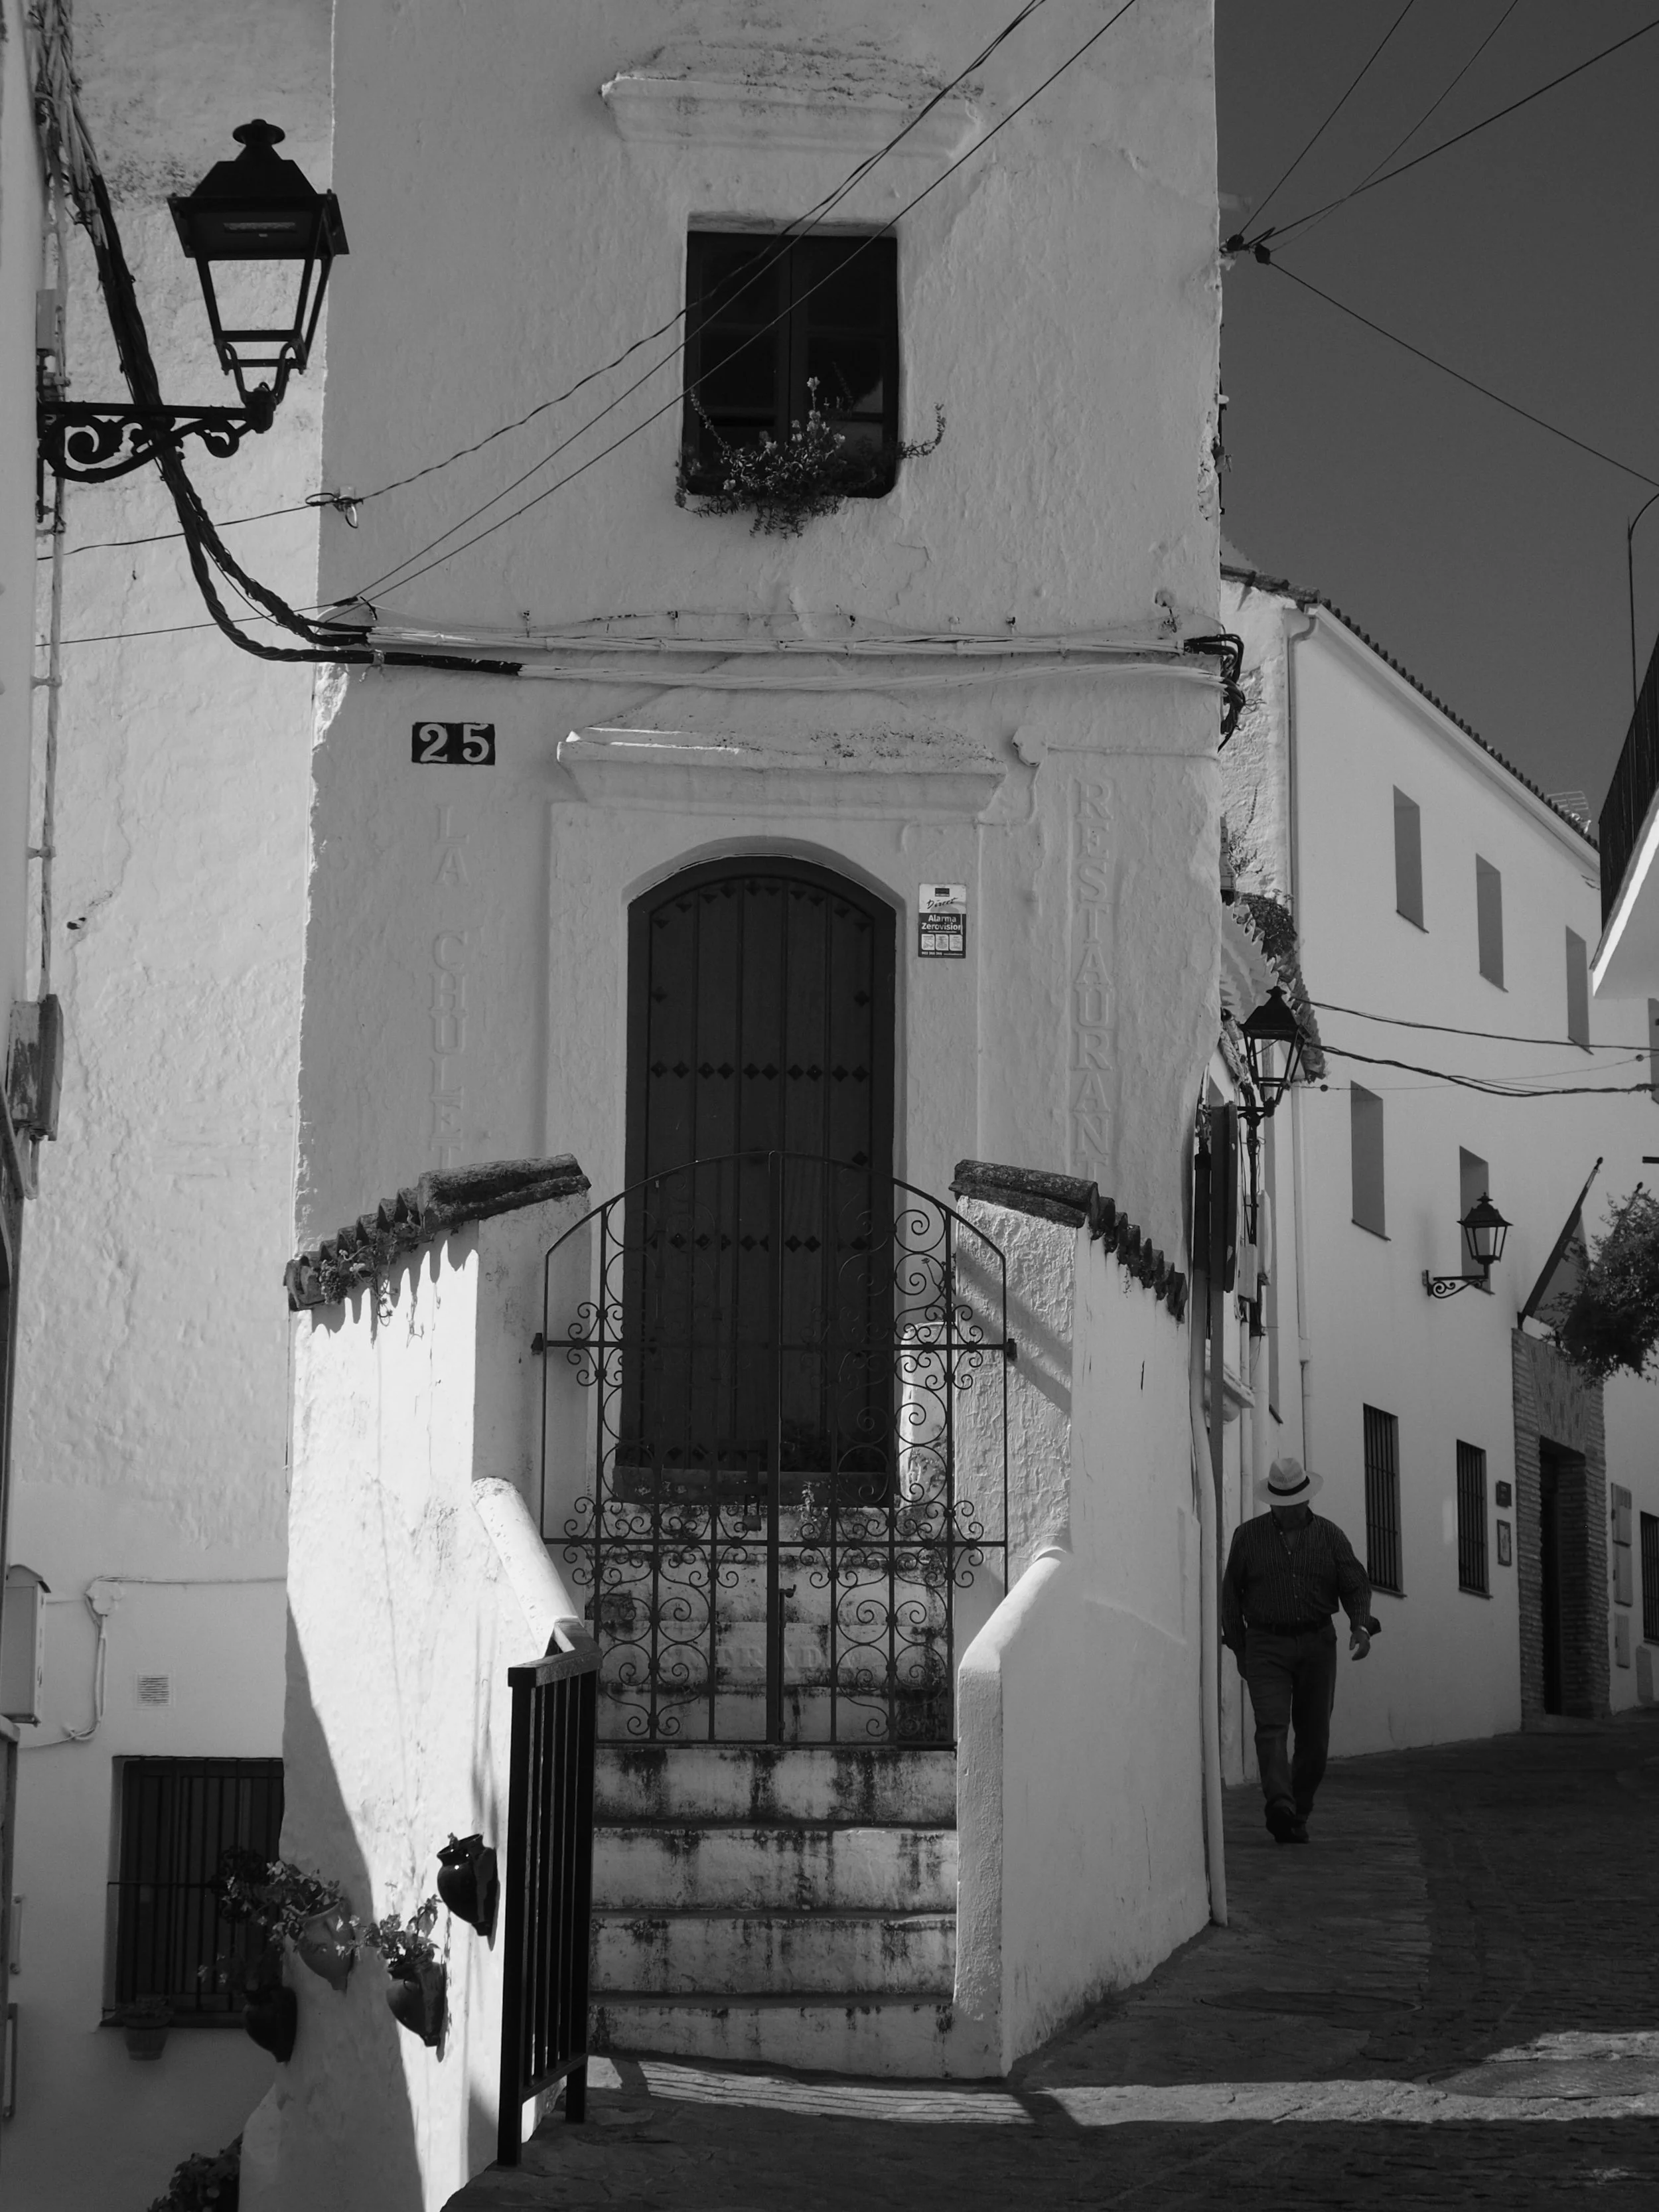
Final Thoughts
I went into this trip looking for a practical solution to a specific problem — how to handle harsh sun and white buildings without losing detail in my highlights. What I came away with was a metering approach I'd let slip years ago, properly put back to work. It's not new, and it won't suit every photographer or every style. But for someone shooting black and white JPEGs with no safety net of RAW recovery, where tonal range is the whole point, Highlight Spot Metering combined with a properly mapped AEL button has made a real, measurable difference to my keeper rate.
Sometimes the most useful thing you can do isn't find a new technique. It's finally come back round to one you already knew.